Community-supported video editors are great alternatives to those premium and expensive ones.
The open-source multi-platform programs Kdenlive and OpenShot are popular among many. Which one should you use? Let’s figure that out in the Kdenlive vs. OpenShot comparison.
The difference
There isn’t much difference except the interface because both support multi-track editing, workspaces, video, audio, and transition effects.
Ease of use
Both are difficult for beginners, but OpenShot is more beginner-friendly. It’s easy to navigate with the right amount of panels on the main interface.
Although the editor’s features confuse some users, the right person can benefit from this program.
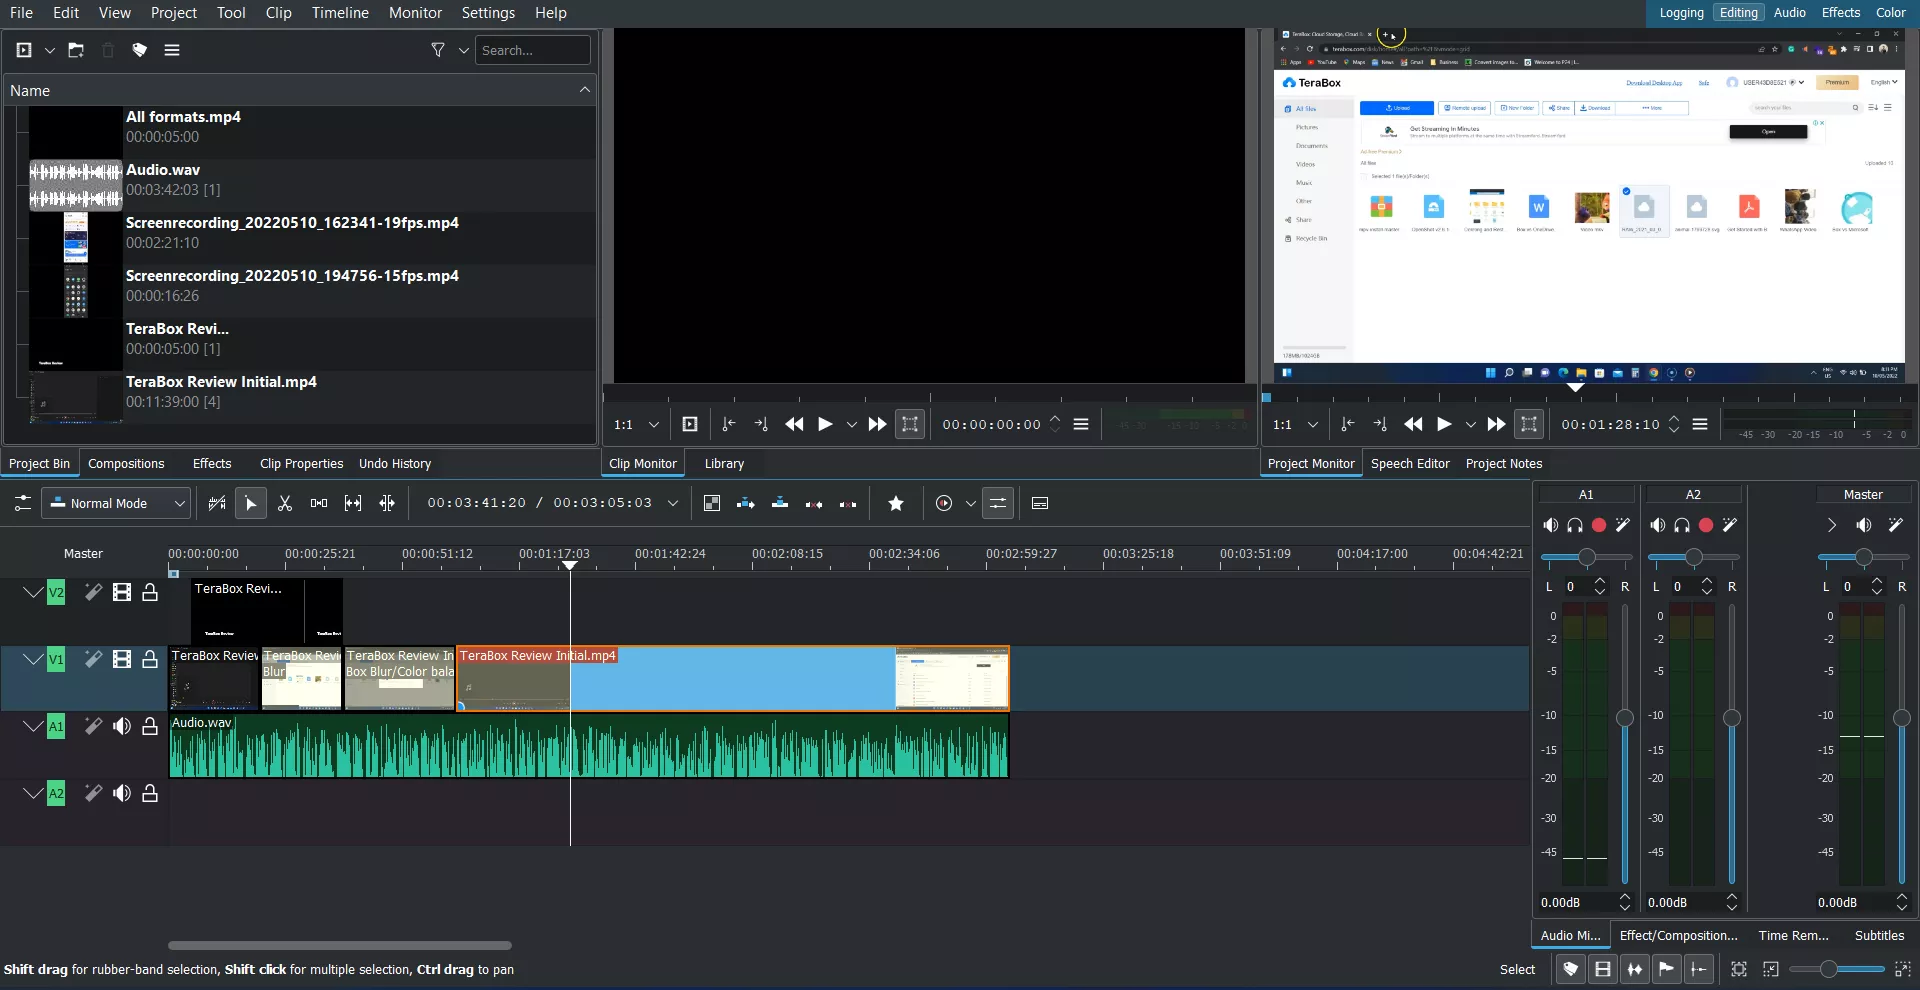
Kdenlive has a couple of unnecessary panels. It has two video previews: one for the timeline and the other for the selected clip.
It also has large audio, subtitles, and effect panels. The main video preview is smaller than on OpenShot.
One of the things I face with OpenShot is that it sometimes crashes without any warnings, which is painful because it does not auto-save the project.
Winner: Tie
Workspaces
Video editing programs have workspaces to help you work efficiently. Each workspace activates the required sections and hides the rest.
For example, you see options related to colors in the Color Workspace.
Kdenlive comes with workspaces. Those include editing, logging, audio, effects, and color. OpenShot, instead of workspaces, uses views. It has a simple view and an advanced view.
The simple view has essential options on the main interface, whereas the advanced view contains more panels for advanced editing.
Winner: Tie
Related: Kdenlive vs. Premiere Pro
Platforms
Kdenlive works on Windows, Linux, and macOS, whereas OpenShot works on Linux, Windows, OS X, Chrome OS, and macOS.
Editing tools
This round of Kdenlive vs. OpenShot goes to Kdenlive because it offers more options. You find multi-track editing, audio adjustments, markers, and razor tools in both.
However, Kdenlive has color grading, animation support, an audio recorder, and some more features.
OpenShot has a couple of extra options as well:
- Emojis
- Animated titles (Blender needed)
Winner: Kdenlive
Effects
Video effects
Kdenlive has over 200 effects. Some of the common ones are:
- Mask
- Blur
- Color adjustment
- Brightness
- Image adjustment
- Video stylize
- VR360 and 3D effects
Those make Kdenlive a perfect video editing tool if you need effects for your videos. OpenShot comes with 18 as of writing this article. Some of those are blur, hue, brightness, and stabilizer.
Winner: Kdenlive
Editor’s note: Shotcut vs. OpenShot
Audio effects
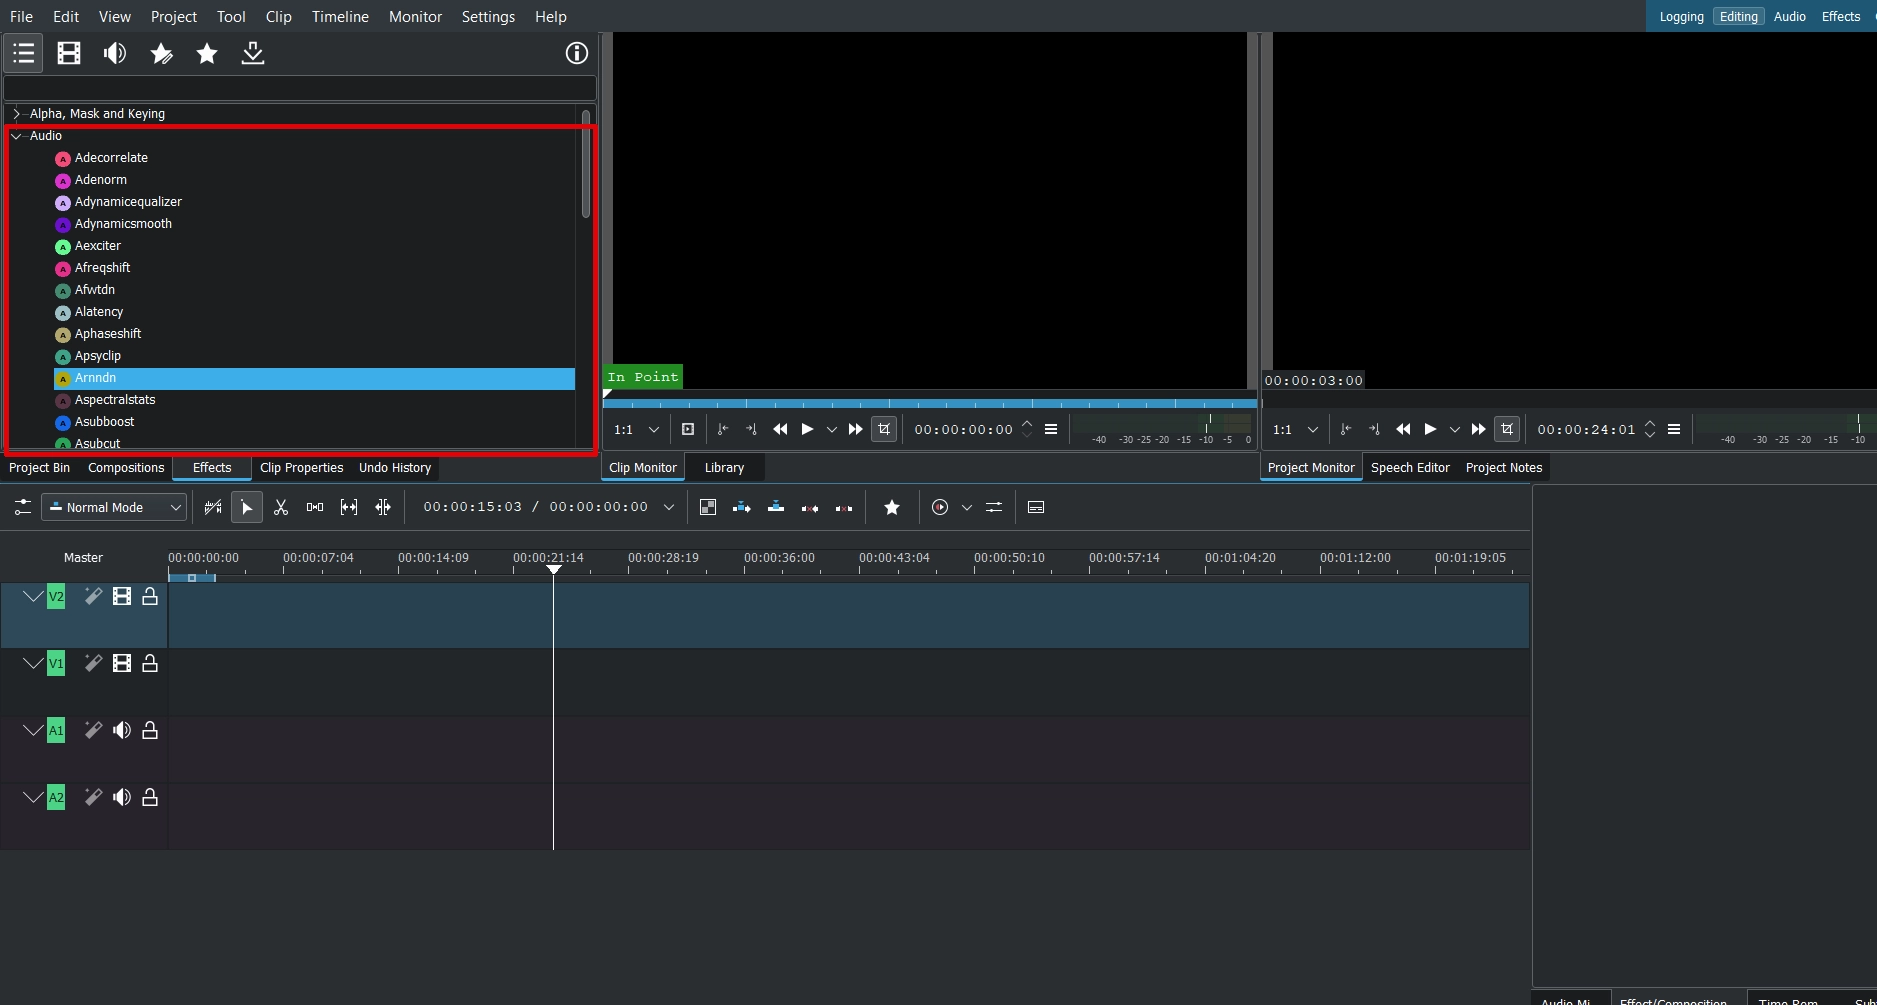
Like video effects, we see more audio effects on Kdenlive. Some of the categories of audio effects are:
- Audio
- Channels
- EQ and filters
- Pitch and Time
- Volume and Dynamics
The app has around 65 effects. OpenSho has nine. These include echo, noise, distortion, etc.
Winner: Kdenlive
Transition effects
This round goes to OpenShot because it comes with 412 transitions. From classic slides to dancing twirls, you have a plethora of options.
Kdenlive comes with 38 composition effects. Among those, only three are transition effects.
Winner: OpenShot
Text effects
The power of Kdenlive is its advanced text editor. It gives you control over what to create. The software also has over 20 downloadable titles.
The title editor has rich text editing options, including fonts, size, color, alignment, letter spacing, line spacing, shadow, background, animation, and patterns.
In comparison, you find 47 titles in OpenShot. All titles have basic options, including text and background color.
The app has some advanced text editing features, but Inkscape (free) is required.
Importing and exporting
Both support the common to advanced video formats, including MP4, MWV, and MKV. Kdenlive converts the video’s codec if the format is not supported.
Regarding exporting, both device-specific options, including mobile, PC, web, audio, etc.
Winner: Tie
Timeline
Kdenlive automatically extracts audio and adds it to the timeline. This lets you split and edit audio. Additionally, you can lock and hide layers in the timeline.
In OpenShot, audio and video track separation is a manual process. Moreover, you cannot hide timeline tracks.
Winner: Kdenlive
Additional features
Emojis (OpenShot)
This section of Kdenlive vs. OpenShot is unique to the latter. We get about 935 emojis to add to the project. This is a massive number if you are a fan of emojis.
Online resources (Kdenlive)
Kdenlive lets you download free sounds, photos, and video clips from Pexels and Pixabay within the editor. Just right-click inside “Project bin” and select “Online Resources.”
Speech-to-text (Kdenlive)
With the help of Vosk and Python, you can auto-generate subtitles for videos in over 30 languages.
You must have Python installed and a language pack download added from the Vosk website. The guide on the website explains the process very well.
Which one is for you
For those looking for a beginner-friendly program, OpenShot will suit them better. If you have experience in video editing and want to learn about effects and stuff, Kdenlive is the one you should choose.
Kdenlive vs. OpenShot: Links
Summary
OpenShot used to crash, but I have not encountered this issue recently, which is good news. Both are excellent, and you won’t be disappointed with either.
What do you think of both? I covered the most critical factors in this Kdenlive vs. OpenShot review. I would appreciate it if you could take a minute to share your thoughts below.
Madhsudhan Khemchandani has a bachelor’s degree in Software Engineering (Honours). He has been writing articles on apps and software for over five years. He has also made over 200 videos on his YouTube channel. Read more about him on the about page.
thank you bro, ill try out kdenlive